
Workflow
Here's a breakdown of my typical workflow. All models offer different challenges, and I may deviate from this at times, but it should help give you an idea of my skillset, preferred tools, and how I may be able to help with your own projects.
Sculpting

ZBrush was the first 3D package that I learnt to use, and it’s still central to my work. However, it has its limitations, and so I make use of Blender when tackling more geometric forms, cleaning up topology, cutting and arranging UV maps, and scaling.
My creatures and characters often start off as a ZSphere armature while I try to find the proportions I’m looking for, then as soon as I have a rough mesh that I’m happy with, I run it through Blender just to scale it properly before going straight back into ZBrush. From that point, I build up detail, merging subtools where needed with the Live Boolean function and ZRemesher to get smooth joins that I can then work over.

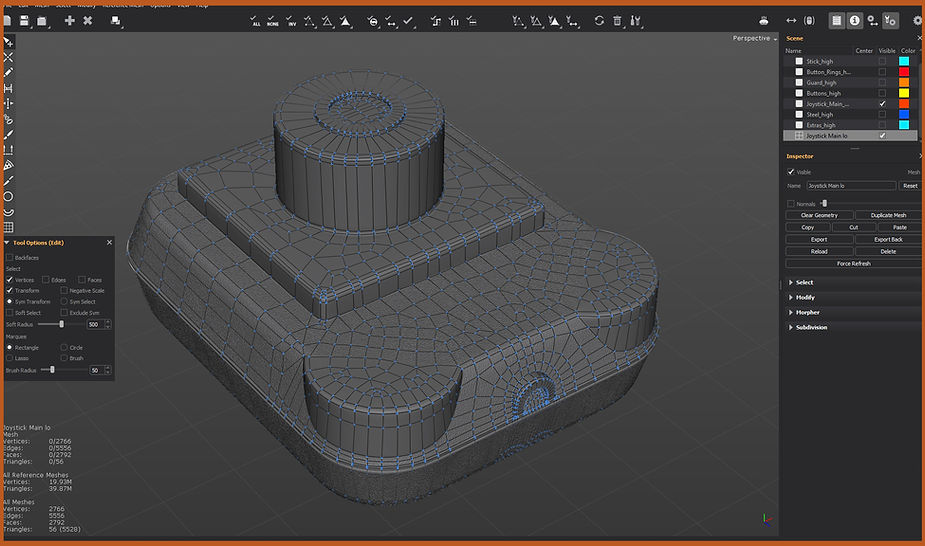
For hard-surface models, or those which need to adhere to exact measurements, I instead start off in Blender and generally create a complete, low-resolution model before turning to ZBrush for detailing. For simple forms that I know will stay pretty close to their high-poly versions, I try to build the model with good topology and cut and prepare the UVs at this stage, to save time later. If I suspect that the model will have to change significantly after it goes into ZBrush, though, I’ll leave this for later.
Texturing

I love the texturing phase. ZBrush gives you an incredible level of control, and adding all the small details and finishing touches to bring a model to life is extremely satisfying. As a kid, I loved seeing work-in-progress photos of special effects artists sculpting and painting masks and puppets. You could often see the transition taking place between rough clay lumps and creatures so real you expect them to suddenly leap at you, and from plain latex to what looked like living flesh.
Retopology
I recently discovered Topogun, which has made my retopology a lot quicker and more precise. As mentioned earlier, in some cases I’ll build a working low-poly model in Blender - before any detailing - that will serve for baking. In all other cases, I now use Topogun. I understand the importance of good topology for animation (and maintaining a good silhouette). It’s something I’ve put a lot of effort into learning, and I’m always looking for ways I can continue to improve my knowledge of it further.
Painting

All of my work is baked and painted in Substance Painter. I find it extremely powerful and intuitive. In many ways it’s similar to Photoshop – which I have over 20 years’ experience with from working as a digital illustrator – and this made it very easy for me to pick up. The painting stage of 3D modelling is definitely one of my favourites; it’s where you finally get to see your hard work pay off.
Rendering

The renders you’ve seen on this site were all done with Marmoset Toolbag 4. It's a great package - especially now that it supports ray tracing.